

How To Make A Sun Hat
When you're packing for a sunshine-and-chill vacation, yous're not exactly looking to lug around extra stuff — particularly non i of those giant woven sun hats that won't even fit in your suitcase. But yous'll definitely need to keep out the rays, which is where a lightweight, foldable DIY dominicus lid comes in. You can stuff this cutie right in your carry-on, not to mention make information technology to match your swimsuit and amp up your sunny-conditions style.
Folding Dominicus Hat
Level: EasyWhat You Need
Instructions
1. Print the Pattern
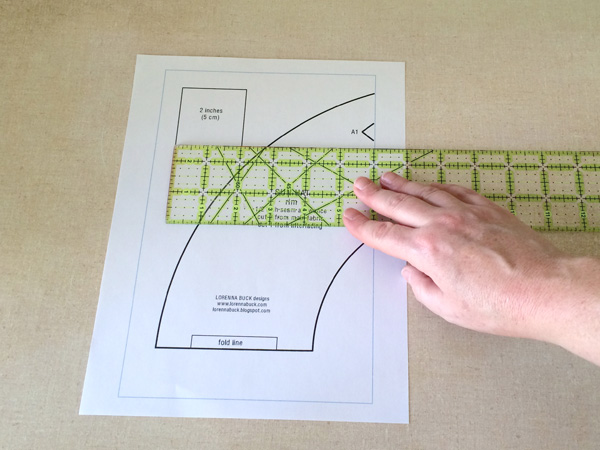
If y'all've never used a PDF pattern earlier, the first thing you lot e'er need to do is print the page with the test square on it. Print the page at 100 pct with no scaling, using PDF reader software like Adobe Acrobat. Once you've printed that page and the foursquare is the correct size, impress the remaining pages.
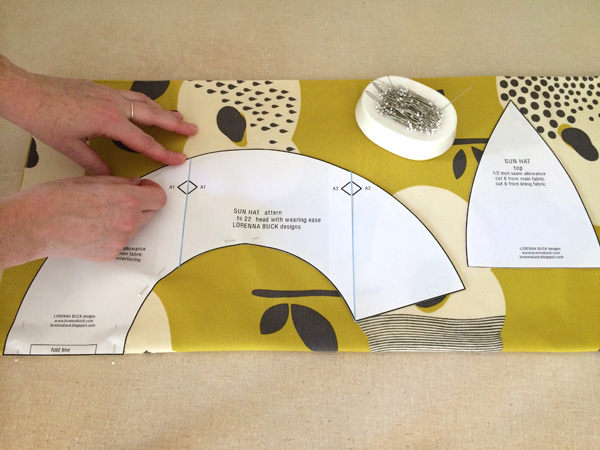
2. Assemble the Pattern
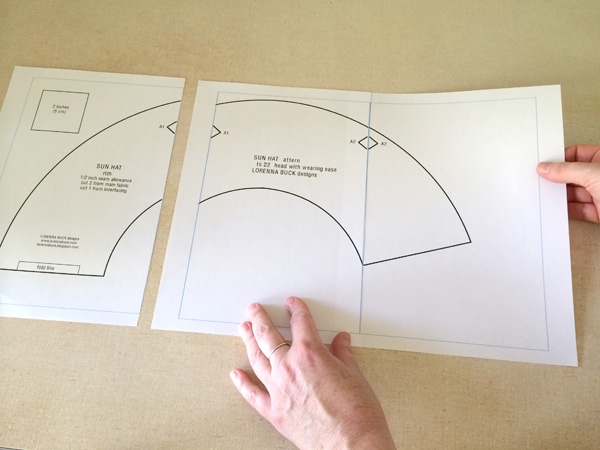
PDF patterns need to be assembled, since they're full-sized patterns broken up to fit on regular-sized sheets of newspaper. Trim the bottom and right edges of each page and line upwards the outer rectangle lines and markings of the pattern. Record forth the seams to form one large pattern piece.
3. Cut Information technology Out
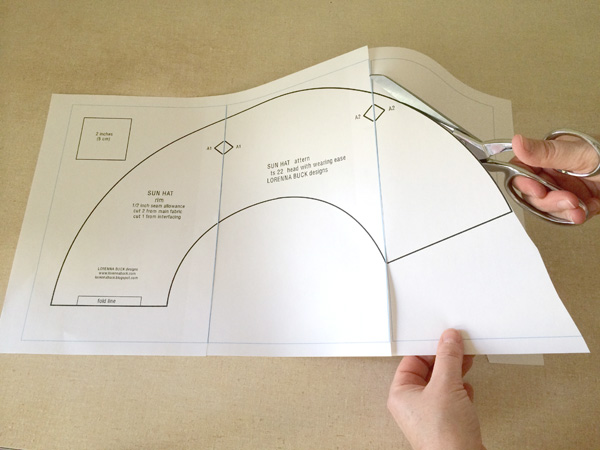
When you lot've assembled all the pages, cut around the pattern shape. For this hat project, there'due south ane piece for the rims and one slice for the cap.
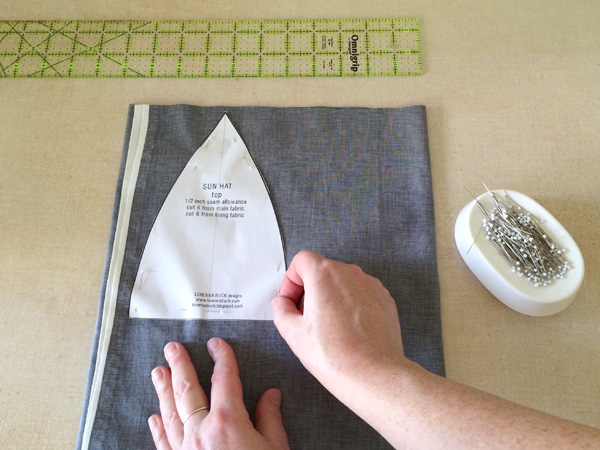
4. Cut the Fabric
Cutting 2 pieces for the rim past placing the blueprint on the fold, and so cut half-dozen triangle-shaped pieces for the cap. There isn't a grain line on the cap piece, then be sure to identify it on grain. We've cut this 1 with the length of grain running vertically with the piece, and then the cross grain stretch goes around the cap.
Pro Tip: For the outer portion of the hat, it'south a good idea to utilize a medium to heavyweight sail or similar material. The fabric we're using in is 100 percent cotton sail weight.
five. Pin Together
Repeat past cutting vi pieces for the interior lining of the cap. (You should use quilt-weight cotton wool or a like material.) Once again, be sure to place the pattern on grain when pinning to the textile.
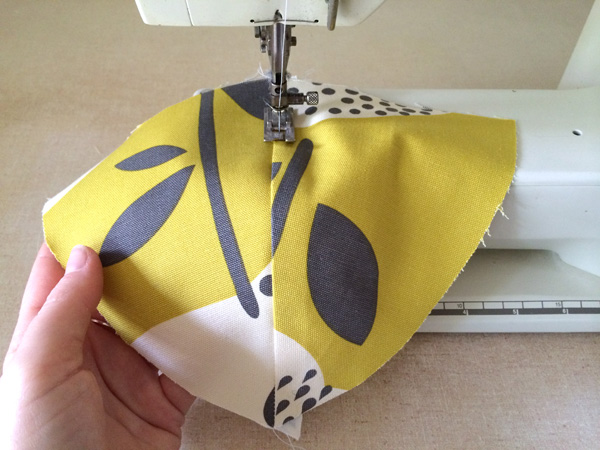
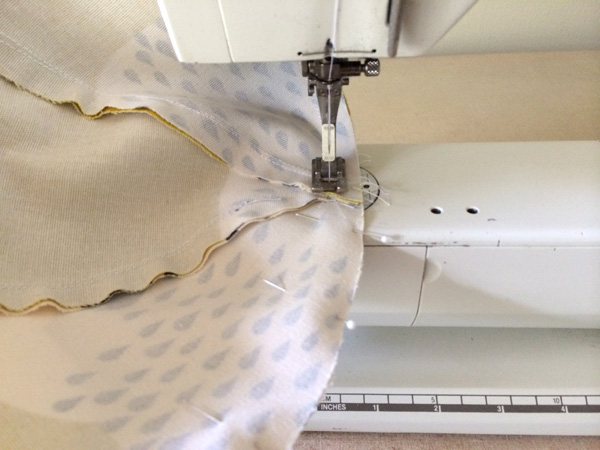
6. Sew the Cap
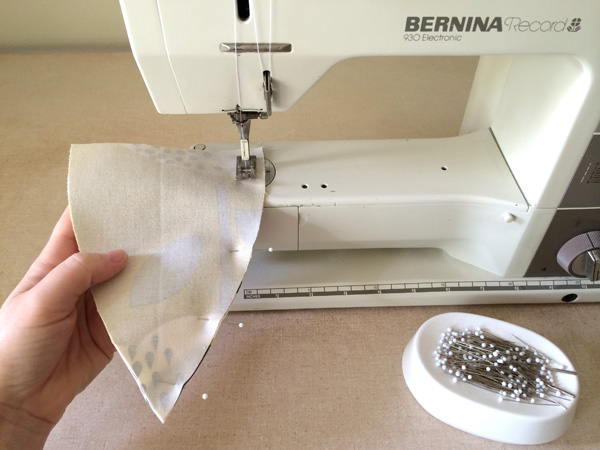
Place two of the outer cap pieces together, right sides facing. Pin along one of the curved edges and sew on the project's seam allowance of ½".
Pro Tip: It's best to sew together toward the points on the cap pieces. It'due south much harder to line up on the correct seam allowance with the curve and bespeak.
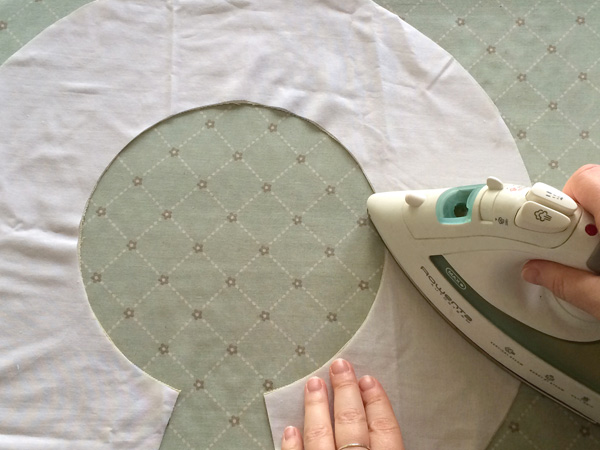
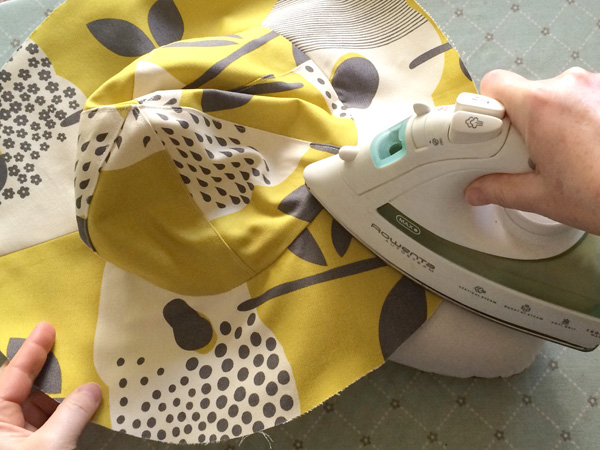
7. Press
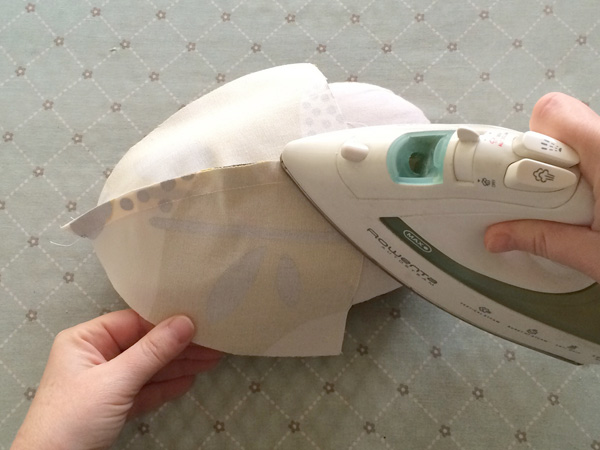
Later sewing the seam, press the seam assart to the right. Because it'due south a 3D piece and won't lay flat, use a pressing ham under the curve.
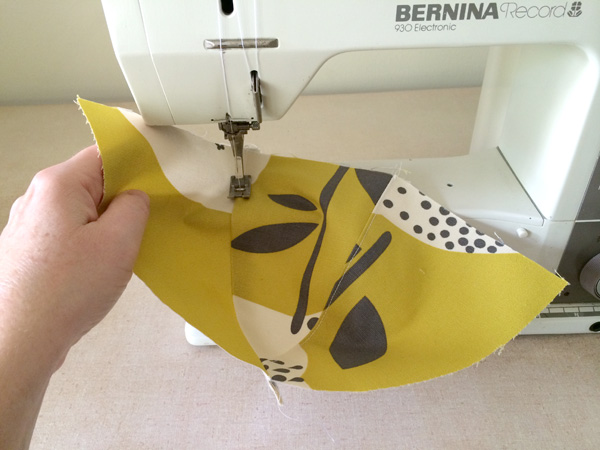
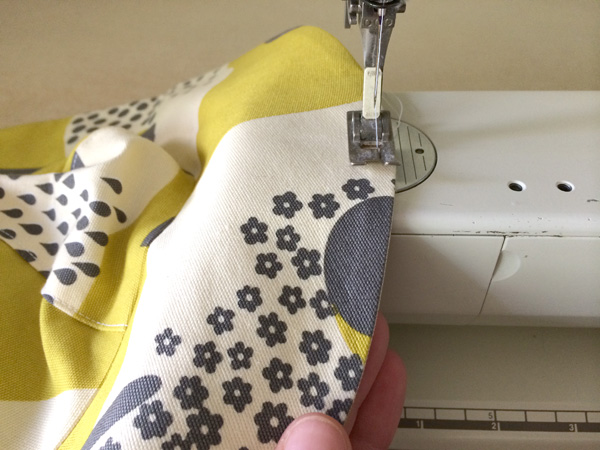
8. Topstitch As You Go
Topstitch the piece. You want to topstitch each curved cap seam every bit you make them.
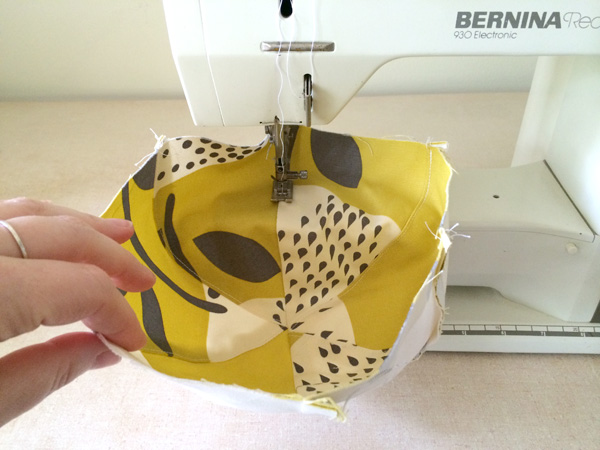
9. Proceed Stitching
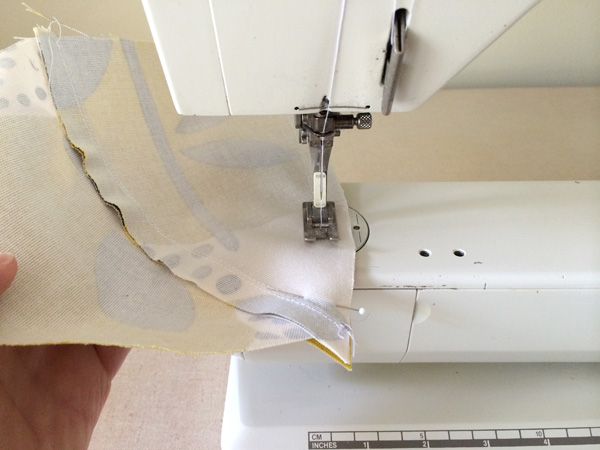
Place a third piece on the cap pieces you've already sewn, keeping the right sides together and pinning along the curved edge. As you did with the last pair, sew toward the peak point along the ½" seam allowance.
ten. Printing and Topstitch Once more
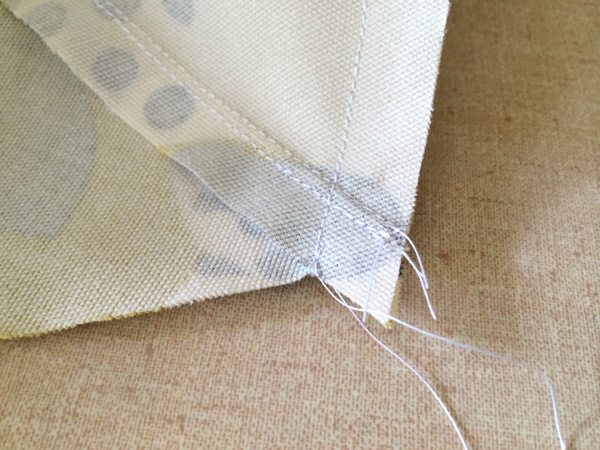
When the iii pieces encounter at the height, the stitching will land correct where the pieces intersect. Press the seam allowance to the right, as you did with the previous seam.
Topstitch along the seam you've just sewn at a ⅛" seam assart. You at present have one-half of the cap!
Repeat steps 5-10 to form the other half of the cap.
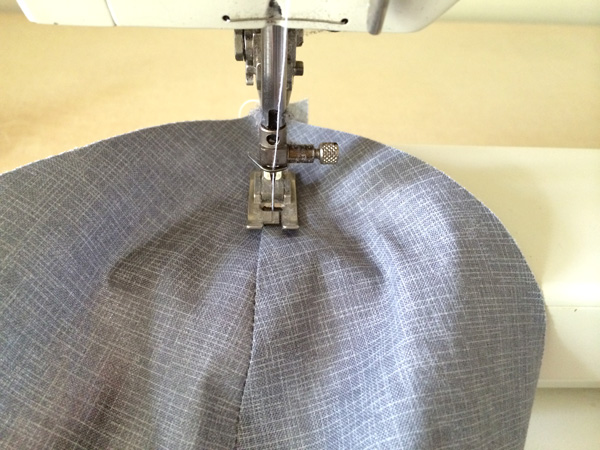
xi. Sew It Together
Place the ii cap sections right sides together and pin forth the acme curve. Run up along the curve at a ½" seam assart. Press the seam allowance to one side, with your pressing ham underneath to fill the empty infinite.
Insert the top seam you've just sewn back into the car and topstitch with a ⅛" seam assart. You'll need to go over some bulky seam intersections, and so take your time.
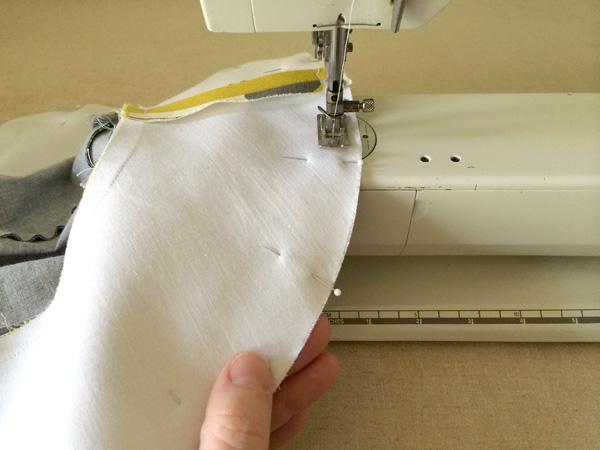
12. Sew the Cap Lining
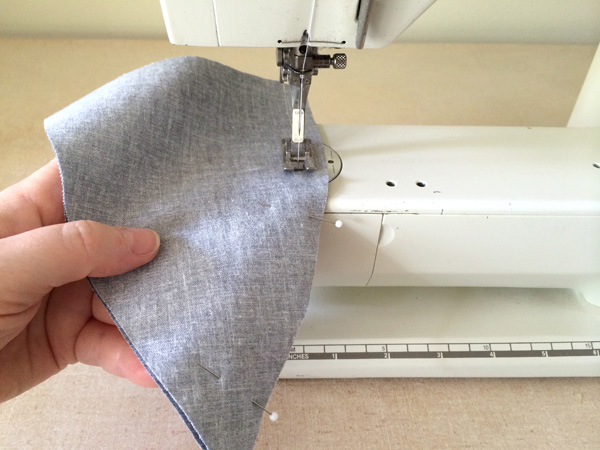
Place 2 of the lining pieces right sides together and pivot forth one of the curved sides. Sew together the seam on a ½" seam assart and stitch toward the top point, just as you did with the outer textile. Press the seam allowance with your pressing ham under the curved seam.
Topstitch the lining with a ⅛" seam allowance. Echo this step to create the second half of the cap lining.
Place the 2 lining pieces right sides together and pin along the elevation curve. Sew with a ½" seam allowance. Press the seam allowance to i side and topstitch as you did on the outer cap.
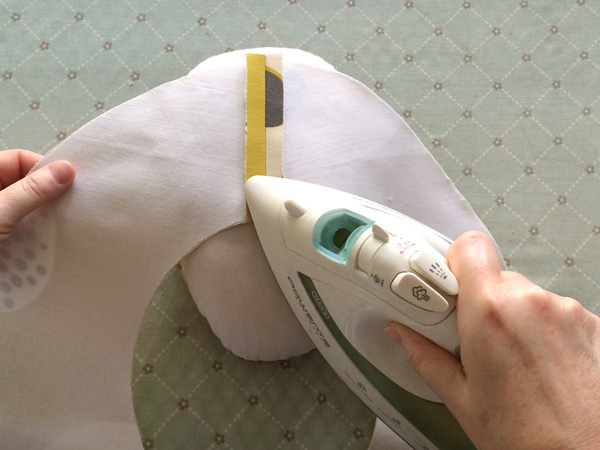
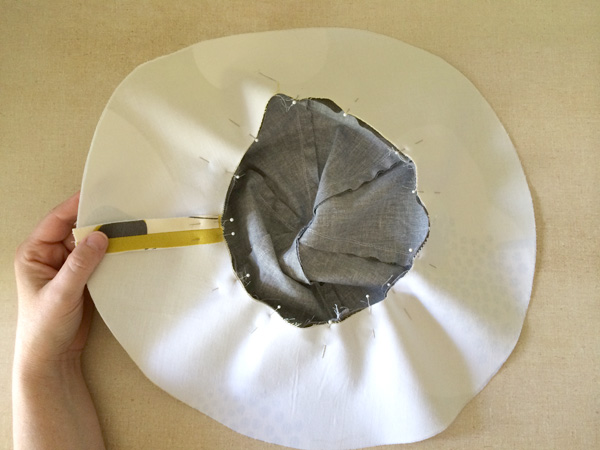
13. Stitch the Rims
Cut i rim piece from lightweight woven fusible interfacing and fuse it to one of the rim pieces.
Practiced to Know: This piece of the rim will exist on the underside of the hat, so keep that in mind if you're using a different fabric for the two rim pieces.

Fold the rim in half and pin the short edges right sides together. Stitch along the seam with a ½" seam allowance.
Printing the seam open.
Pro Tip: When you're working with curved seams, be careful not to stretch them out of place, since all the elements will demand to line up when assembling the lid.
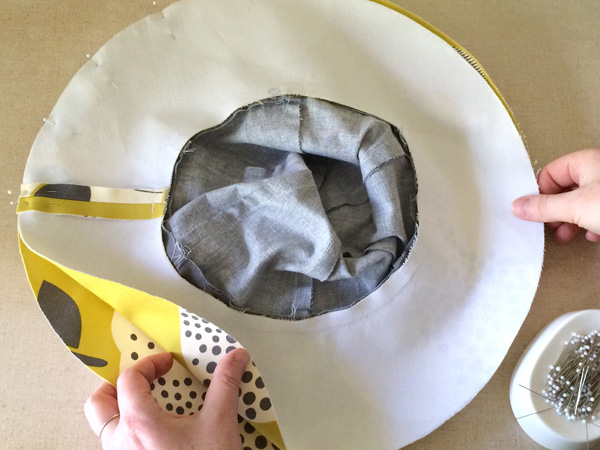
14. Join the Pieces
Identify the outer cap and the non-interfaced rim right sides together, aligning the inner bend of the rim with the curve of the cap. Pin forth the circle. Make certain to put the rim's seam at a place on the cap that will end upward at the back of the hat.
Run up around this circle at a ½" seam allowance. Be conscientious not to create any pinches in the cloth on the underside.
The seam assart should face up into the cap portion of the lid. Press this area to aid open up the seam. Now, when yous sew the rim, the pes can go into the area around the cap with ease.
Pin the lining cap to the interfaced rim around the circle seam, just like y'all did in the last pace. Mark a two″ section of this seam and exit it unsewn and so y'all can use it later for turning the hat right side out. Sew together together at a ½" seam allowance.
Press the seam and tuck the seam assart of the 2″ unsewn surface area underneath.
15. Assemble the Hat
Place the 2 lid groupings together, right sides facing. Pin around the outer perimeter of the rims. The caps should fit within each other.
Sew around the rim, stitching the 2 rims together.
16. Terminate
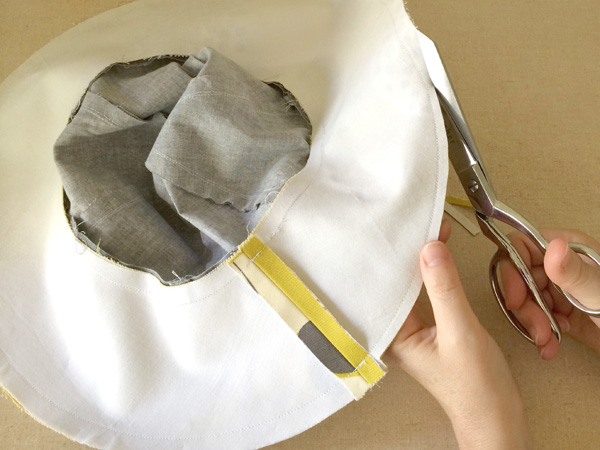
Trim the seam allowance in half.
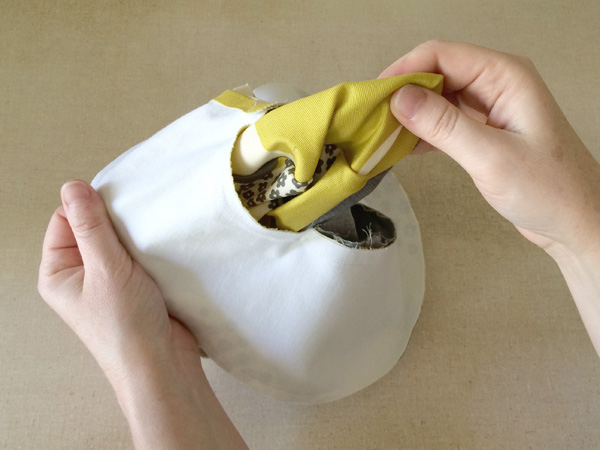
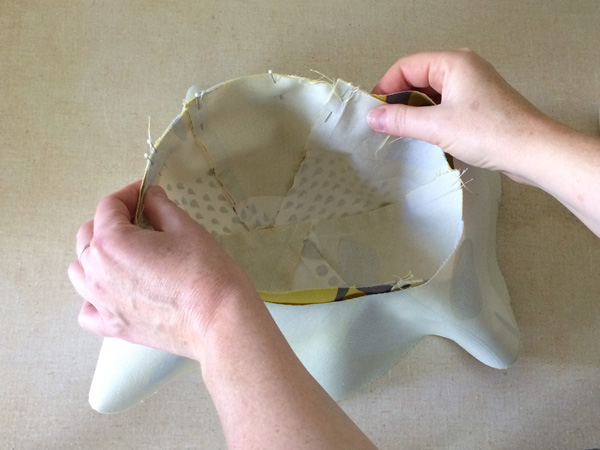
Gently pull the entire hat out through the two″ hole yous left unswen. Press the rim flat on both sides of the hat to gear up it for topstitching.
Pro Tip: If necessary, press the cap and rim seam once again to keep the rim out of the style for topstitching.
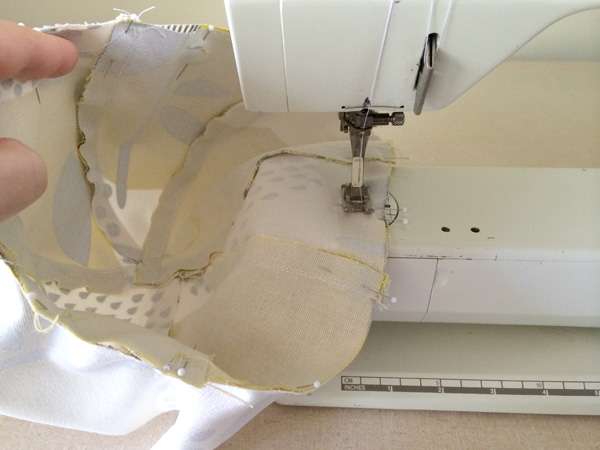
The design calls for you lot to only topstitch the rim at the outermost edge and at the seam where the cap and rim meet. But y'all may want your hat to take rows and rows of topstitching to help strengthen the rim and go along the chapeau from being too floppy. Plus, those actress rows tin definitely bump upward the style.
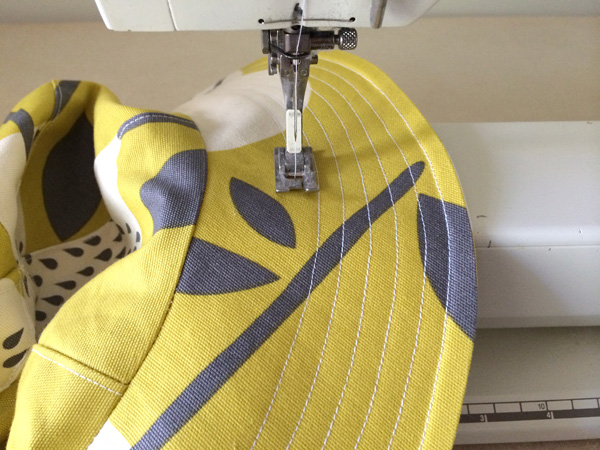
If y'all decide y'all want those extra rows, continue stitching around the rim, using the foot as your guide from row to row. Check your bobbin to brand certain you won't run out of thread along the way.
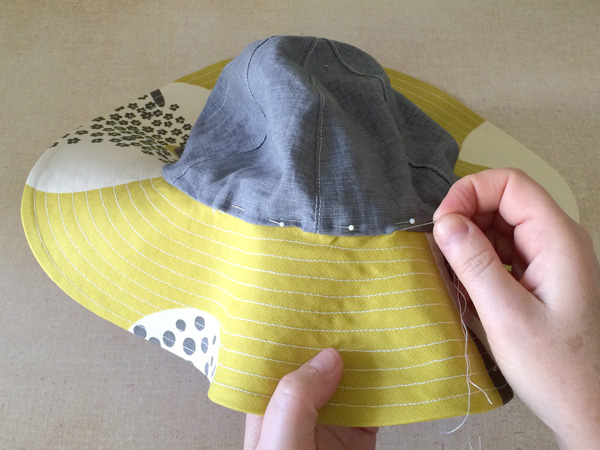
You'll still see a hole left in the hat — hand stitch information technology closed with a needle and thread. Give the rim a concluding printing and your hat is good to go.
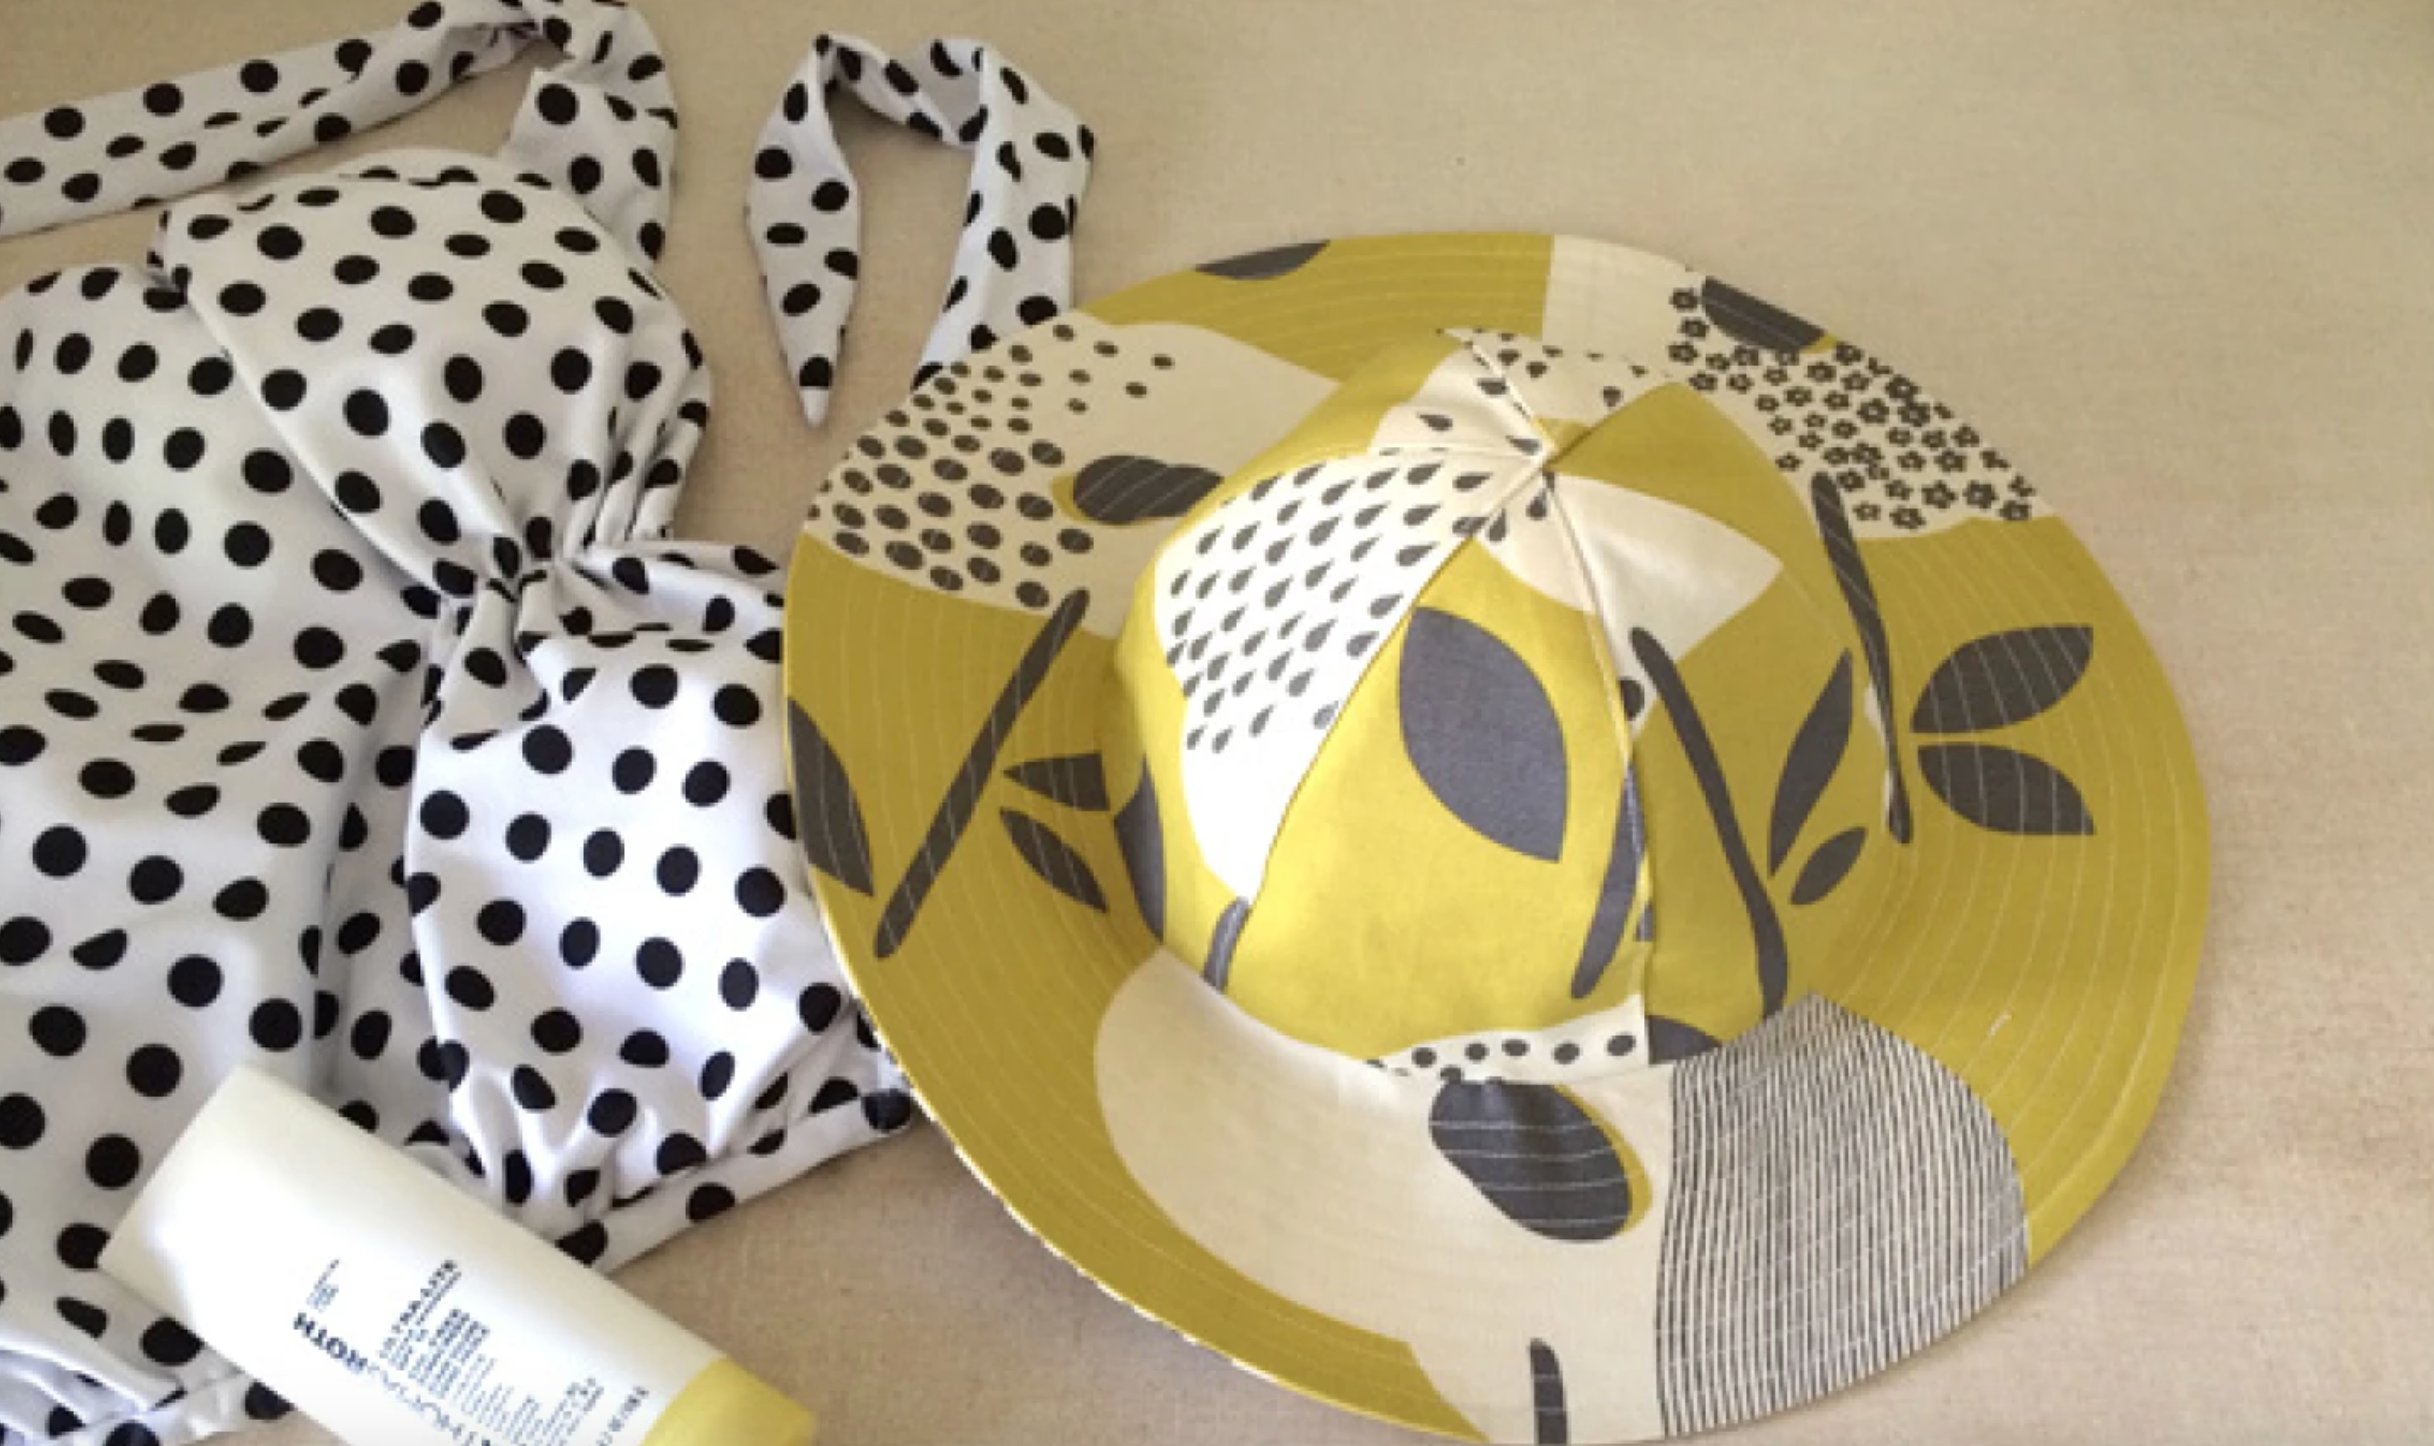
Beach fourth dimension! Pack your pocketbook, grab your swimsuit and sunscreen and get set up to turn some heads.
Source: https://www.craftsy.com/post/how-to-make-a-sun-hat/
0 Response to "How To Make A Sun Hat"
Post a Comment